Project 0: Designing a Room
In this introductory project, you’ll learn the basics of using Bonsai to design a simple room. By the end of this tutorial, you’ll have created a basic 3D model and a 2D floor plan drawing.
Prerequisites
Basic knowledge of Blender interface
Bonsai installed and activated
Learning Objectives
Create basic walls and openings
Add a floor slab
Incorporate basic MEP elements
Place basic furniture
Generate a simple floor plan drawing
Tutorial Steps
1. Setting Up the Project
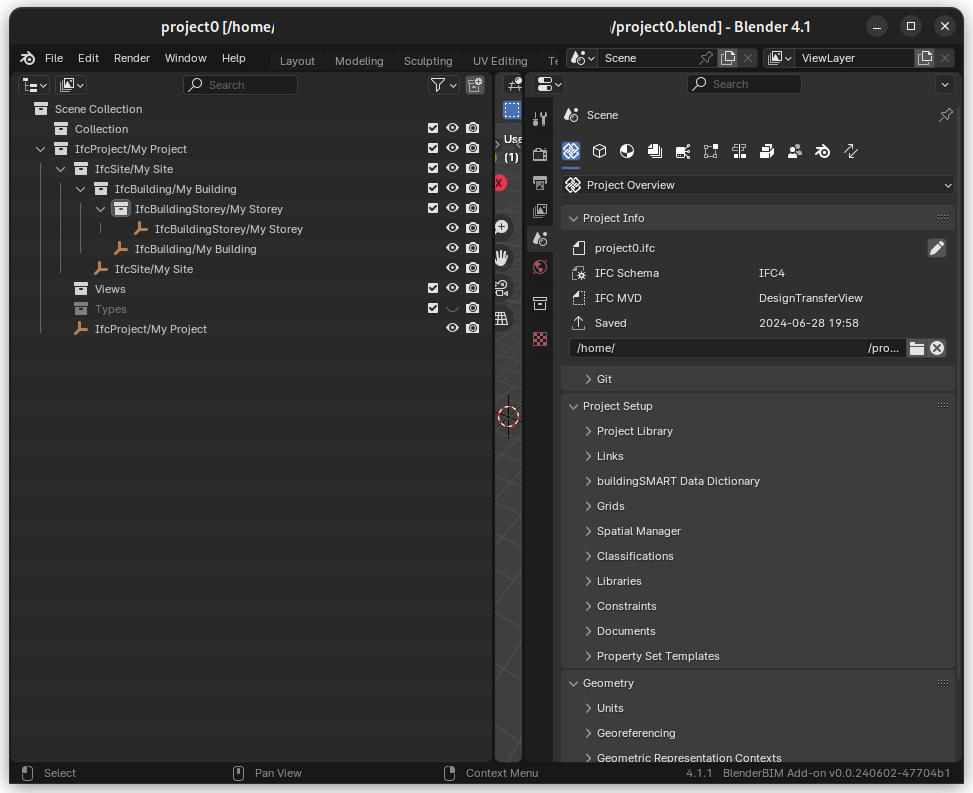
Setup the project0 project.
Open Blender and switch to the Bonsai workspace.
Create a new IFC project. Use Metric.
Save it as project0.ifc file.
(optional) Save the project0.blend file.
Note
See Starting a New IFC Project for detailed instructions.
2. Creating Walls
Creating Walls in Bonsai
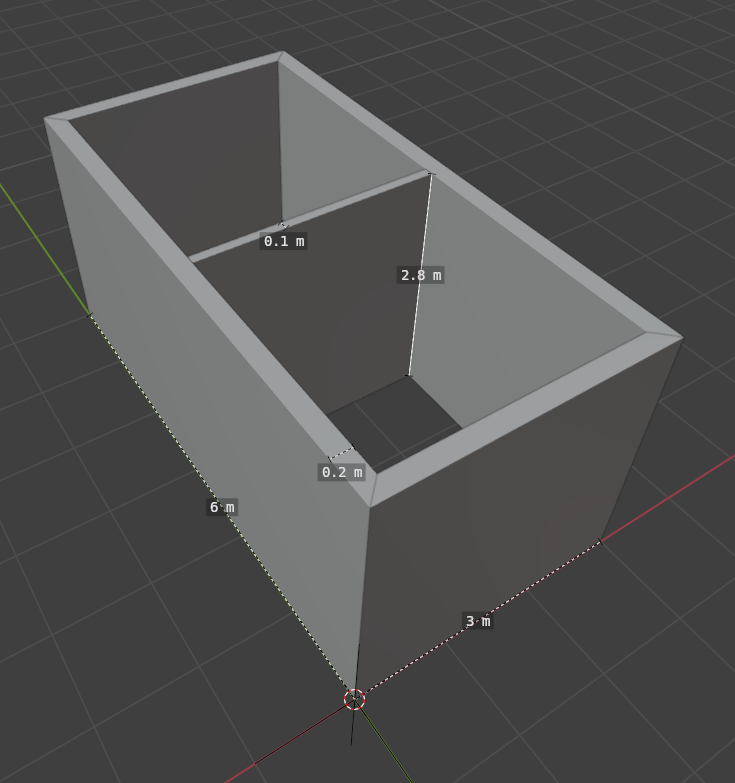
Use the “Create Wall” tool to draw the room’s perimeter of a room 6m by 3m. Use mitre join.
Add an interior wall across the room in the middle. Use butt join.
Adjust walls height to be 2.8m.
Set the thicknesses of 0.2m for the exterior walls.
Set the thickness of 0.1m for the partition wall.
Use a Measure tool to ensure proper dimensions. The interior lenghts of the walls should be 2.8m, 2.7m and 2.6m.
Note
Refer to Creating Walls for step-by-step guidance on wall creation.
If you still struggling, here’s what you should get:
3. Adding Openings
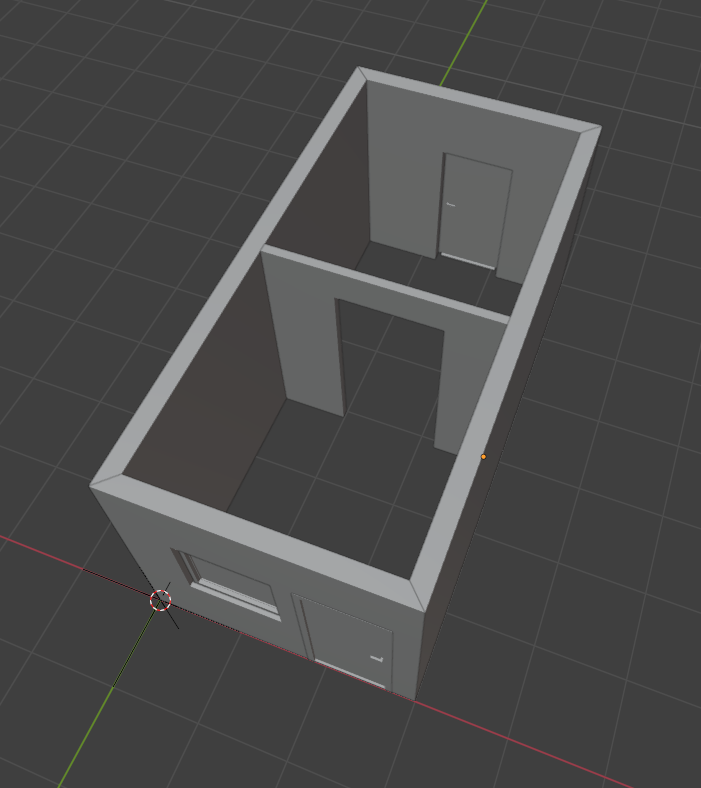
Adding Openings in Bonsai
Create two door openings:
Use the “Create Door” tool for each door
Set the width to 0.9m and height to 2.1m for both doors
Position the front door 0.1m from the corner on one of the 3m walls
Position the back door at the center of the 3m wall
Add two window openings beside the front door:
Use the “Create Window” tool to create a window beside the front door
Set the width to 1m and height to 1m
Position the window 0.1m to the side of the front door
Adjust the sill height for the windows:
Set the sill height to 1m from the floor level
Create an arch opening in the interior partition wall:
Use the “Create Door” tool to create a door in the partition wall
Use a dedicated DoorType for this opening that we’ll discard
Set the width to 1.2m and height to 2.4m
Position it in the center of the partition wall
Click on the “eye” icon near “Add Void” to display the void
Remove the Door and the Door type in the outliner
Click checkbox near “Add Void”.
Use the Measure tool to verify the positions and dimensions of all openings.
Ensure that the openings do not intersect with corners or other openings.
Note
Refer to Opening Without Filling for detailed instructions on creating and modifying openings, including how to create openings without fillings.
If you’re having difficulties, you can download the sample file:
4. Creating the Floor Slab
Use the “Create Slab” tool to add a floor
Adjust slab thickness and elevation
5. Basic MEP Elements
Add electrical outlets using IFC Electric Terminal
Place a light fixture using IFC Lighting Fixture
Add a simple HVAC vent using IFC Flow Terminal
6. Placing Furniture
Import basic furniture from the Bonsai library
Position and rotate furniture items
Adjust furniture properties if needed
7. Generating a Floor Plan
Set up a plan view using the Bonsai drawing tools
Add dimensions to the floor plan
Include basic annotations and labels
8. Finish
Review IFC properties for all elements
Generate a PDF of the floor plan drawing
Conclusion
Congratulations! You’ve completed your first room design using Bonsai. You should now have a basic understanding of creating walls, openings, slabs, and simple MEP elements, as well as generating a basic floor plan.
Next Steps
Experiment with different room layouts and furniture arrangements
Try creating a more complex room shape
Explore additional MEP elements and their properties
In the next project, we’ll build upon these skills to design a complete flat, introducing more advanced concepts and techniques.